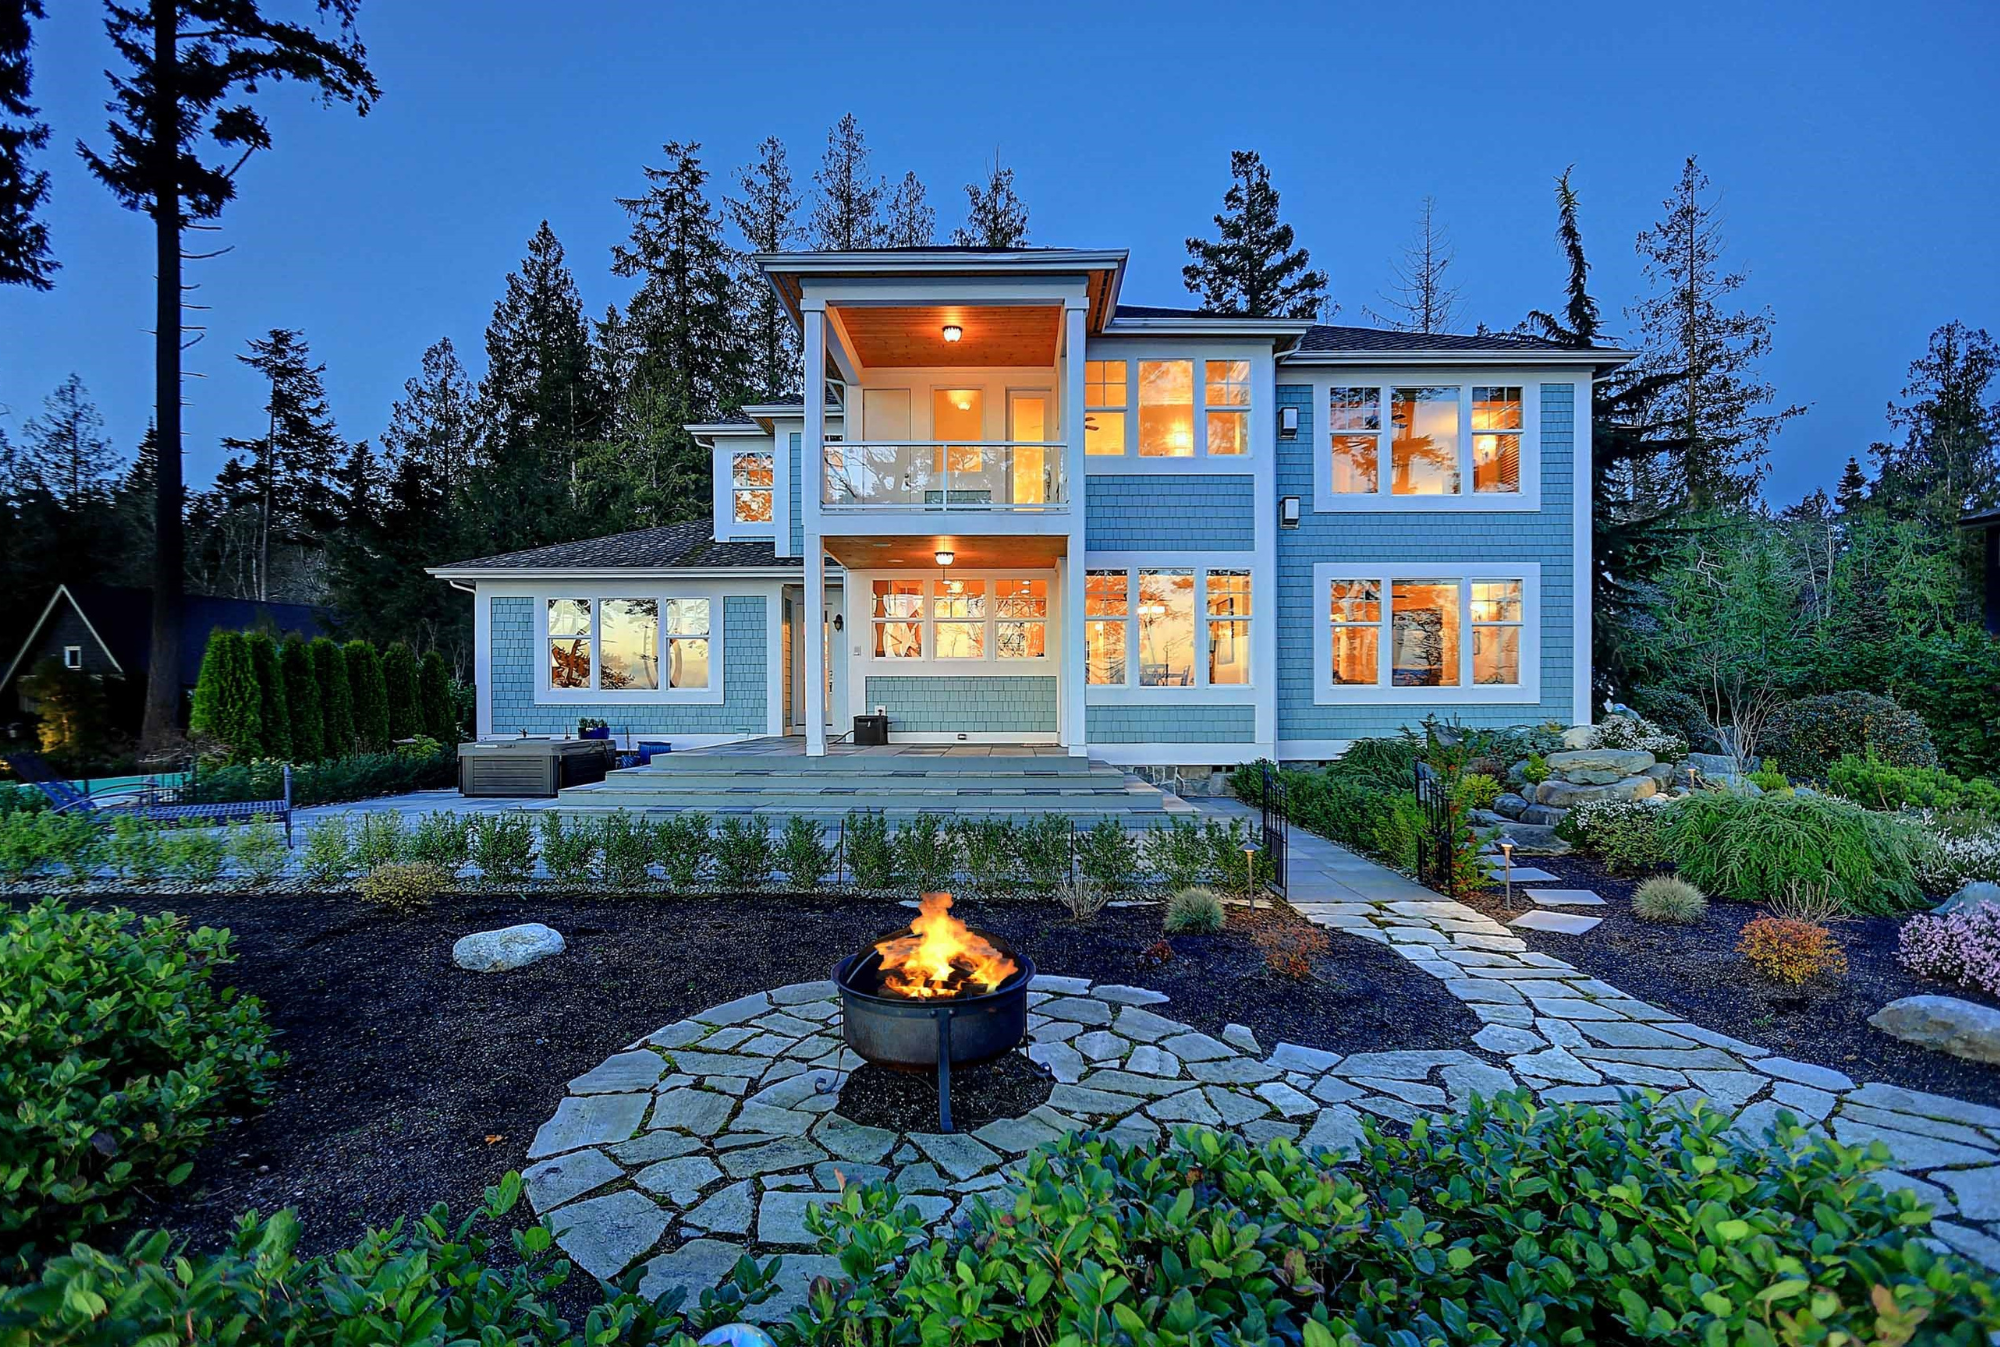
You can buy almost anything online nowadays, including homes. If you’re looking to sell or rent your property, you should make sure that your listing is as attractive as possible to catch the attention of potential buyers or renters.
.
With that said, one of the most crucial parts of a good listing is the photos you include. If you want to get people interested in a home, you need to show it in its best light and make people want to learn more! Otherwise, even a terrific house in a great location can get overlooked. Keep reading to learn more about listing photography and how to spruce up your own photo gallery.
.
Why Good Listing Photos Are a Must
Photos are powerful, and they’re one of the most important aspects of a good listing. Humans are masters of visual processing, and it makes sense that we want to see something before we buy it!
.
A 2017 study conducted by the National Association of Realtors (NAR) found that 89% of people who went online for their home search considered photos to be “very useful.” Additionally, VHT, a professional real estate photography studio, reported that a property sells up to 32% faster when a listing is accompanied by professional photos.
.
Simply put, there’s no way for someone to know if a particular property is worth viewing or bidding on if they don’t know what it looks like. A description can only go so far when there’s no image to pair it with. Of course, not all photos are created equal. The way you prepare your home, the quality of your photos, and the contents of your photos are all significant.
.
What Kinds of Photos Should You Take?
First things first—consider the equipment you use to take your photos. Using a wide-angle lens ensures that you get a complete view of the rooms and property you’re photographing. Take photos of every room in your house or apartment, and don’t forget to get differently-angled shots of the exterior and the property.
.
Even if you’re not a professional photographer, there are some things you can do to vastly improve the quality and look of your photos. Below are a few simple tips you can implement to see an improvement in your photographs.
.
Don’t Forget About the Background
When taking photos of certain rooms or spaces, be mindful of what’s in the background. For example, if you have an open floor plan and can see into multiple rooms at once, be sure that everything is staged well even if it’s not the focal point of the image.
.
This is also a chance to show off the things in the home that make it unique and can interest potential buyers, such as distinctive layouts, fireplaces, or great window placement.
.
Check Your Lights
First, make sure to clean all the lamps, chandeliers, and other sources of light throughout the home. Then, change all the bulbs and ensure that they’re all working correctly. You may also want to consider getting light bulbs with “white cool light” as this can increase the perception of brightness and make photos look more professional in many cases.
.
Make Sure All Spaces Are Clean
Nowadays, cameras are so good that they’re able to catch everything. If there’s even a small amount of dust on the shelves or smudges on the walls when the light reflects on them, it might be visible in photos. It’s time for a thorough deep-cleaning of your home!
.
You may even want to consider investing in updating your landscaping before listing, as this can make both interior and exterior photos look better and increase your home’s value.
.
Don’t Overdo It With Props
Having a great piece of art or some exquisite furniture can make any room feel more comfortable, luxurious, or unique. However, placing too many props or personal items, such as wine bottles, candles, glasses, etc., can make it feel a little too “over the top” and too staged.
.
When taking photos, your setting should usually be simple and clean—after all, you want to show off the house, and not the items in it. With that said, vases of flowers or some well-placed rugs are great examples of small props that will enhance the photo without looking like you’re trying to shoot a magazine cover.
.
Take Care of the Composition
Most photographers will tell you that taking photos from the chest level—or at a level that captures all of the components in the room—is best. You want to make sure you have a balanced photo that features just enough of the ceiling, the floor, and everything else in a particular space.
Taking photos from chest or neck level will give the same impression that someone would get from walking around the listing themselves. Of course, this is just a suggestion—the exact strategy for photo taking will depend on what room or object you’re trying to capture.
.
Final Words
If you’re currently selling your home or you’ve been considering making the big leap, Windermere is here to help. Not only do we have a wealth of resources to help you during this transition, but our agents are experienced, dedicated, and ready to assist you on your home selling journey. Connect with an agent today to get support as you make this life change!
 Facebook
 X
X
 Pinterest
 Copy Link

